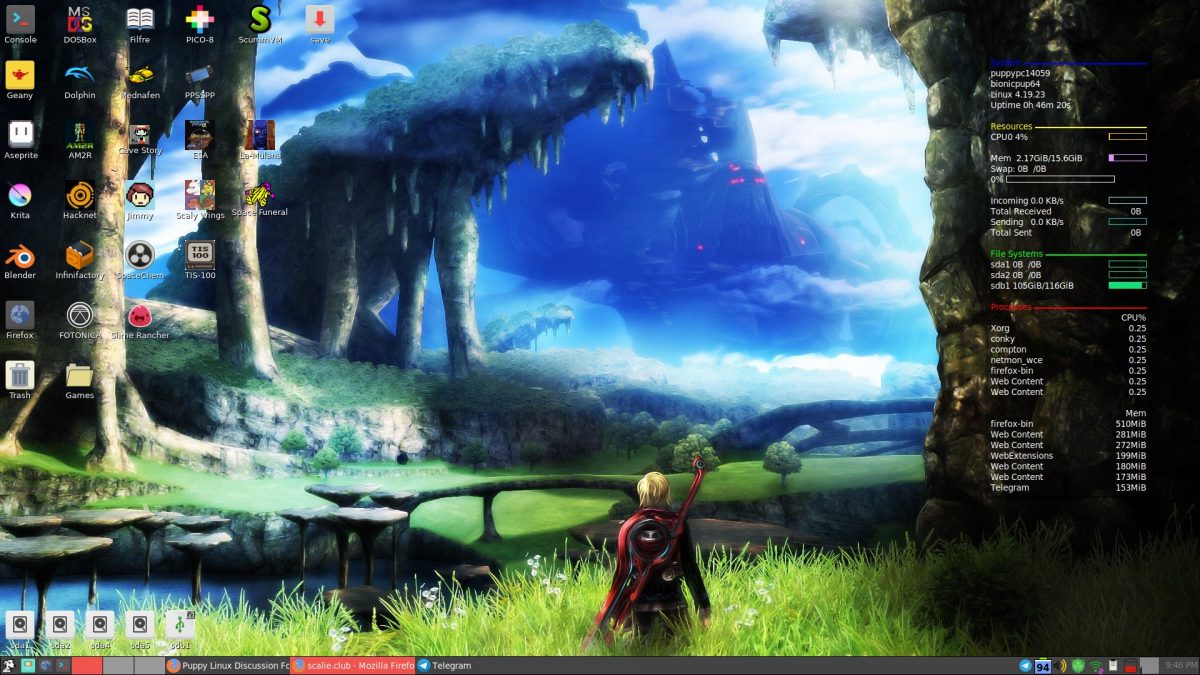
(Above background image is Xenoblade Chronicles concept art.)
OK, the stream from yesterday is up! It’s 4 hours, 48 minutes of my 2D creative process from the essential messing-with-the-OS step to the concept, layout, sketch, and base colors. I’ll be doing another of these very soon:
This video was done by hooking my laptop to my Elgato Game Capture HD; I did it this way because I wanted to depict the complete experience of using the Puppy Linux OS and Krita to draw an image.
The operating system is capable of running entirely from RAM; it loads up a save file on startup (up to 4GB in size, at least how I have it configured) and saves to it every 30 minutes or so. It’s often used as a stopgap OS to recover files from computers with inoperable OS partitions, or to make old computers useful again for low-impact tasks like word processing or web browsing (since modern OSes are so bloated). And while it’s useful for breathing life into older PCs (I have a Toshiba NB505 from 2010 this runs well on), I decided to try to use it to make a portable creativity environment. It works pretty well for this, it turns out! Krita runs great, as depicted in the video; my initial tests in Blender have been promising as well. The resulting stick can be booted into from my desktop, laptop, and netbook without disrupting the contents of the attached computer’s built-in hard drive in any way. Instructions on how I did it are after the break.
THIS IS HOW I DID IT:
REQUIREMENTS: A computer capable of running Windows with 2 empty USB ports, and 2 USB flash drives (one at least 1GB, which we’ll be calling the “install drive”, the other one however large you want your new OS partition to be. Beware, all files on both flash drives at the start will be lost in the process of doing this.)
- Download a .iso file of your desired most recent version of Puppy Linux (I used bionicpup64)
- Use a program to flash the install drive with the .iso you just downloaded (I used balenaEtcher)
- Reboot, enter the BIOS settings of your PC, and boot from the USB stick you just flashed
- You should be in Puppy Linux now; check to make sure the basic stuff works (mouse, keyboard, wifi). In my case, my laptop’s wifi and trackpad didn’t work; I had to connect a mouse, then run the wifi configuration wizard, then run the Puppy Updates application from the menu, after which everything worked as expected.
- Insert the second USB stick, run StickPup from the applications menu, and use it to install the same ISO from earlier onto that. MAKE SURE you select the correct drive here
- Shut your PC down, remove the install drive, and start it up again, now booting into the second USB stick
- Customize to your heart’s content; make sure to shut your PC down whenever you’re done using it (instead of pressing the power button)TIPS & TRICKS:
- This is a pared-down version of Linux; while it can be used to test the OS out, and is itself capable of all kinds of tasks, it’s not fully representative of what a full install of an OS like Linux Mint (which is installed on my desktop and laptop PCs) can do. Many programs require Puppy-specific versions (distributed via the package manager or through ’.pet’ files) to run correctly. Firefox was one of those for me; the one from the Ubuntu repository didn’t play web audio, the one from the Puppy repository did.
- The 4GB size limit can be mostly overcome by keeping your portable applications and personal files on the USB stick outside of the Linux install folder. I say “mostly” because non-portable applications still take up disk space within the save file.
- Some .deb application installer files work, some require 32-bit compatibility files. These can be found in the Quickpet program in the application menu; Quickpet acts as a short list of non-essential applications that aren’t included in Puppy distros by default.
- If you use the USB stick install and don’t want your save file filled up immediately, set your web browser to limit the size of the cache (my personal limit is 50MB; in Firefox I had to manually edit the browser.cache.disk.smart.size.enabled and browser.cache.disk.capacity values in about:config to get it to stick).
- Krita is distributed in the .appimage format; some appimages can be run just by double-clicking them, but Krita needs some extra work; it can be run from the terminal through the command LD_LIBRARY_PATH= “./krita-4.1.7-x86_64.appimage” from whichever directory it’s placed, or by creating a shell script that runs that command and placing it in Krita’s directory.
- If you use a Wacom tablet, pressure sensitivity is built into the Linux kernel (this is one of the reasons I switched to Linux a year ago in the first place); some distros have button mapping built into the GUI, but with others (Puppy included) you need to use the xsetwacom terminal command. Comprehensive instructions for how to use this are online; I personally manually run this shell script through a desktop shortcut whenever I connect my tablet and I’m good to go.
- My Intel graphics card on my laptop (an Acer Aspire E5-573G) presented screen tearing issues; I stopped them by creating a file in /etc/X11/xorg.conf.d called “20-intel.conf” with this text.
- If this looks intimidating (and I don’t blame you if it does) – I promise you, all the above information was retrieved using standard websearching methods; I’d personally say the only limiting factors for whether someone interested in trying this for themself ‘should’ give this a shot are time and patience, but I also realize those are in short supply for a lot of people. Use your best judgment.


