CASUAL SUPER Fightstick Art

Featuring my OCs Lettie and her live-in girlfriend Grace, created for my personal MayFlash F500 fightstick; there are a few things I’d tweak but I’m still thrilled with the final result. This was the first time I’d fully rendered an image with lighting in Blender for the background of a piece, instead of taking screenshots and tracing it over.


As an experiment I made my own crowd sprites; 20 models with 2 additional palettes each. I was heavily inspired by Dragon Ball FighterZ, which has an arena stage and a sold-out crowd featuring animal people of various shapes and sizes. (Their arena design featured bench-style rows which ended up being much more practical for an audience of varying sizes than my arena, which has rows broken up into big and non-big sections.)

Additionally, the ads in the background (can you tell I was inspired by the Mandalay Bay arena, where EVO is typically held?) are all original designs. (The more obscured billboards were filled out for lighting purposes, since they’re all emissive textures that affect lighting in a PBR-based render.)

Noell Fursona Refsheet

And now, a refsheet of the tortoise fursona I developed to represent anxiety/life situations that can’t be adequately depicted with my android or kobold designs!

(I spent way too much time working on this even compared to other pieces I’ve made, and I’m sure there are places I can improve it, but I’ve worked on it long enough at this point that declaring it finished and uploading it now is an act of self-care)

Let’s Draw: A Desktop Background Featuring A Bunch of OCs, Part 1

(Above background image is Xenoblade Chronicles concept art.)

OK, the stream from yesterday is up! It’s 4 hours, 48 minutes of my 2D creative process from the essential messing-with-the-OS step to the concept, layout, sketch, and base colors. I’ll be doing another of these very soon:

This video was done by hooking my laptop to my Elgato Game Capture HD; I did it this way because I wanted to depict the complete experience of using the Puppy Linux OS and Krita to draw an image.

The operating system is capable of running entirely from RAM; it loads up a save file on startup (up to 4GB in size, at least how I have it configured) and saves to it every 30 minutes or so. It’s often used as a stopgap OS to recover files from computers with inoperable OS partitions, or to make old computers useful again for low-impact tasks like word processing or web browsing (since modern OSes are so bloated). And while it’s useful for breathing life into older PCs (I have a Toshiba NB505 from 2010 this runs well on), I decided to try to use it to make a portable creativity environment. It works pretty well for this, it turns out! Krita runs great, as depicted in the video; my initial tests in Blender have been promising as well. The resulting stick can be booted into from my desktop, laptop, and netbook without disrupting the contents of the attached computer’s built-in hard drive in any way. Instructions on how I did it are after the break.

THIS IS HOW I DID IT:

REQUIREMENTS: A computer capable of running Windows with 2 empty USB ports, and 2 USB flash drives (one at least 1GB, which we’ll be calling the “install drive”, the other one however large you want your new OS partition to be. Beware, all files on both flash drives at the start will be lost in the process of doing this.)

  1. Download a .iso file of your desired most recent version of Puppy Linux (I used bionicpup64)
  2. Use a program to flash the install drive with the .iso you just downloaded (I used balenaEtcher)
  3. Reboot, enter the BIOS settings of your PC, and boot from the USB stick you just flashed
  4. You should be in Puppy Linux now; check to make sure the basic stuff works (mouse, keyboard, wifi). In my case, my laptop’s wifi and trackpad didn’t work; I had to connect a mouse, then run the wifi configuration wizard, then run the Puppy Updates application from the menu, after which everything worked as expected.
  5. Insert the second USB stick, run StickPup from the applications menu, and use it to install the same ISO from earlier onto that. MAKE SURE you select the correct drive here
  6. Shut your PC down, remove the install drive, and start it up again, now booting into the second USB stick
  7. Customize to your heart’s content; make sure to shut your PC down whenever you’re done using it (instead of pressing the power button)TIPS & TRICKS:
  • This is a pared-down version of Linux; while it can be used to test the OS out, and is itself capable of all kinds of tasks, it’s not fully representative of what a full install of an OS like Linux Mint (which is installed on my desktop and laptop PCs) can do. Many programs require Puppy-specific versions (distributed via the package manager or through ’.pet’ files) to run correctly. Firefox was one of those for me; the one from the Ubuntu repository didn’t play web audio, the one from the Puppy repository did.
  • The 4GB size limit can be mostly overcome by keeping your portable applications and personal files on the USB stick outside of the Linux install folder. I say “mostly” because non-portable applications still take up disk space within the save file.
  • Some .deb application installer files work, some require 32-bit compatibility files. These can be found in the Quickpet program in the application menu; Quickpet acts as a short list of non-essential applications that aren’t included in Puppy distros by default.
  • If you use the USB stick install and don’t want your save file filled up immediately, set your web browser to limit the size of the cache (my personal limit is 50MB; in Firefox I had to manually edit the browser.cache.disk.smart.size.enabled and browser.cache.disk.capacity values in about:config to get it to stick).
  • Krita is distributed in the .appimage format; some appimages can be run just by double-clicking them, but Krita needs some extra work; it can be run from the terminal through the command LD_LIBRARY_PATH= “./krita-4.1.7-x86_64.appimage” from whichever directory it’s placed, or by creating a shell script that runs that command and placing it in Krita’s directory.
  • If you use a Wacom tablet, pressure sensitivity is built into the Linux kernel (this is one of the reasons I switched to Linux a year ago in the first place); some distros have button mapping built into the GUI, but with others (Puppy included) you need to use the xsetwacom terminal command. Comprehensive instructions for how to use this are online; I personally manually run this shell script through a desktop shortcut whenever I connect my tablet and I’m good to go.
  • My Intel graphics card on my laptop (an Acer Aspire E5-573G) presented screen tearing issues; I stopped them by creating a file in /etc/X11/xorg.conf.d called “20-intel.conf” with this text.
  • If this looks intimidating (and I don’t blame you if it does) – I promise you, all the above information was retrieved using standard websearching methods; I’d personally say the only limiting factors for whether someone interested in trying this for themself ‘should’ give this a shot are time and patience, but I also realize those are in short supply for a lot of people. Use your best judgment.

Clover Placeholder Standee

Was unsure about the scale of various things in an architecture study I decided to model from scratch, so I drew an assistant to help with visual reference. (It worked; I now see that those cabinets are all off in multiple ways. Modeled in Blender 2.8; assistant is my partner Phen)

Apogee Model Postmortem

Lots of positive feedback received about the Apogee model I made last month! Here are some scattered thoughts on the experience of making it:

– The model was made for a Windows game: THUG Pro, a community-made mod for Tony Hawk’s Underground 2; you might have seen the Monster Factory episodes about it. While Apogee is for my partner Phen’s exclusive use only, there are tons of custom models and levels available for you to try at your leisure. THUG Pro requires that you own a copy of the PC version of THUG 2, which I wouldn’t recommend playing by itself — everything about its story and aesthetic represents the tiresome attitude of young-lad MTV culture in the mid-aughts, to the point where I suspect even Mr. Hawk himself was reticent to participate. THUG Pro redeems it almost completely; the base game still has Viva La Bam characters in it as hidden skaters, but those can be replaced manually with minimal effort.

– This was done entirely in secret. The most I revealed to Phen until it was playable ingame was “Oh, I’m doing Blender tutorials.” I had the idea for the gift several months ago, in response to Phen’s tendency to fire up Tony Hawk’s Pro Skater 1 and 2 when they needed something to occupy their hands with while winding down for bed. I started work on it on December 15th and gave it to Phen on the 27th, reserving no personal time for anything else during the two-week period.

– The Blender tutorials I took were from Andrew Price’s, Daniel Kreuter’s, and Cherylynn Lima‘s YouTube channels. I also benefited from this PolyCount page on low-poly limb topology and this tutorial about modeling and texturing a low-poly T-Rex. The THUG Pro tutorials I used were out-of-date, so I’m not linking them here; websearch “Blender Custom Skaters” and look for the io_thps_scene Blender plugin, and you should find what you need.

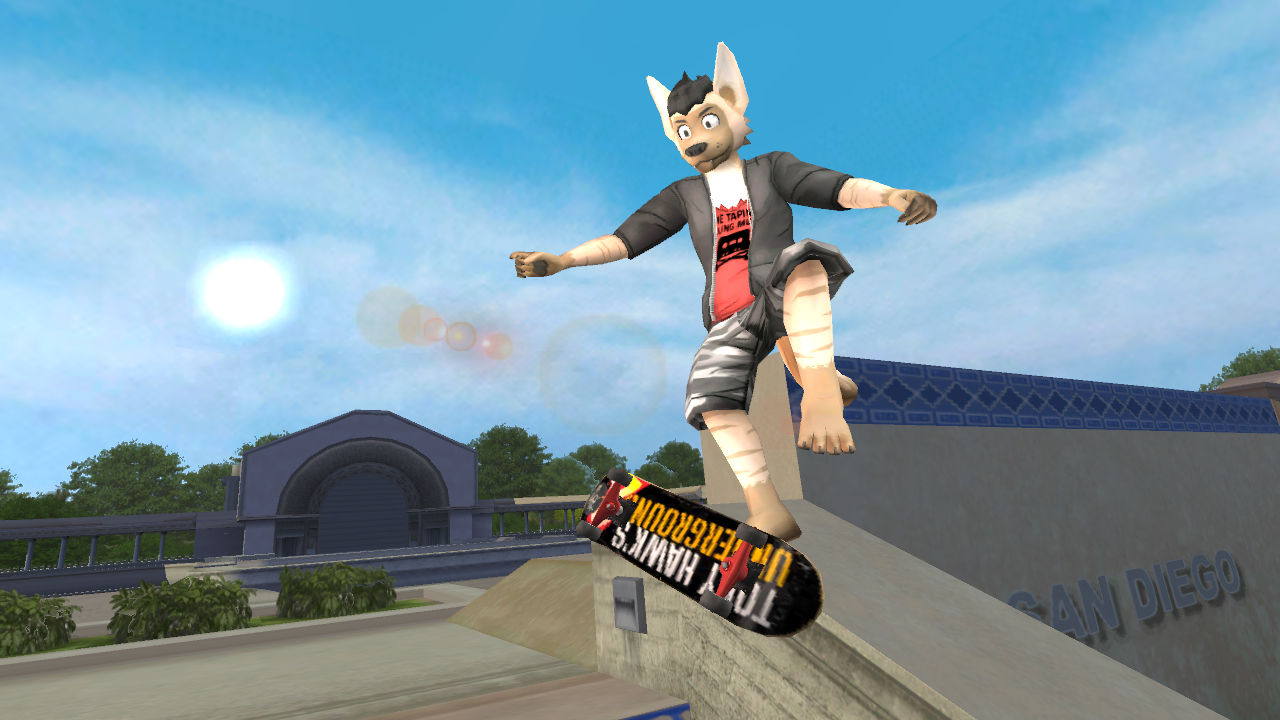
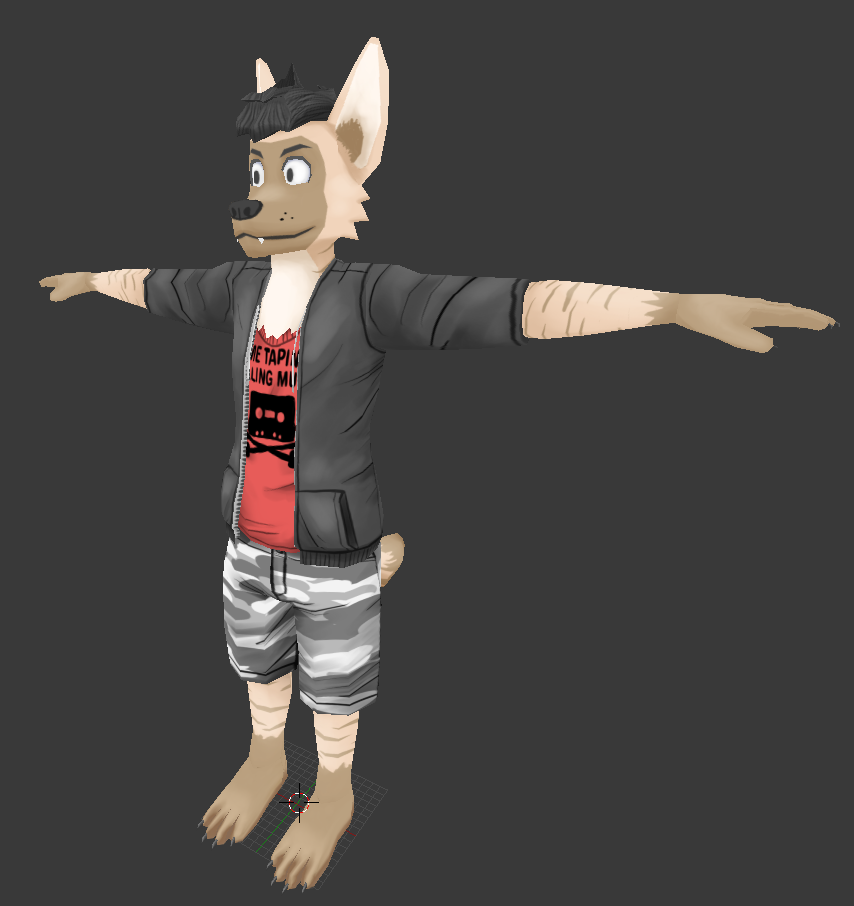
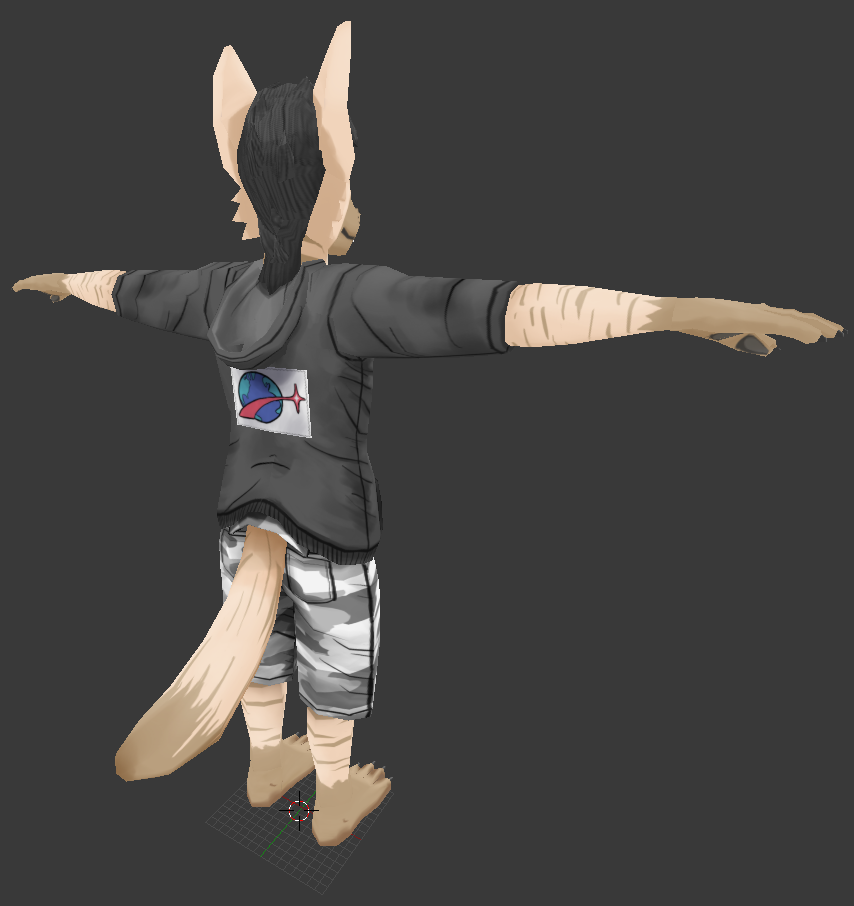
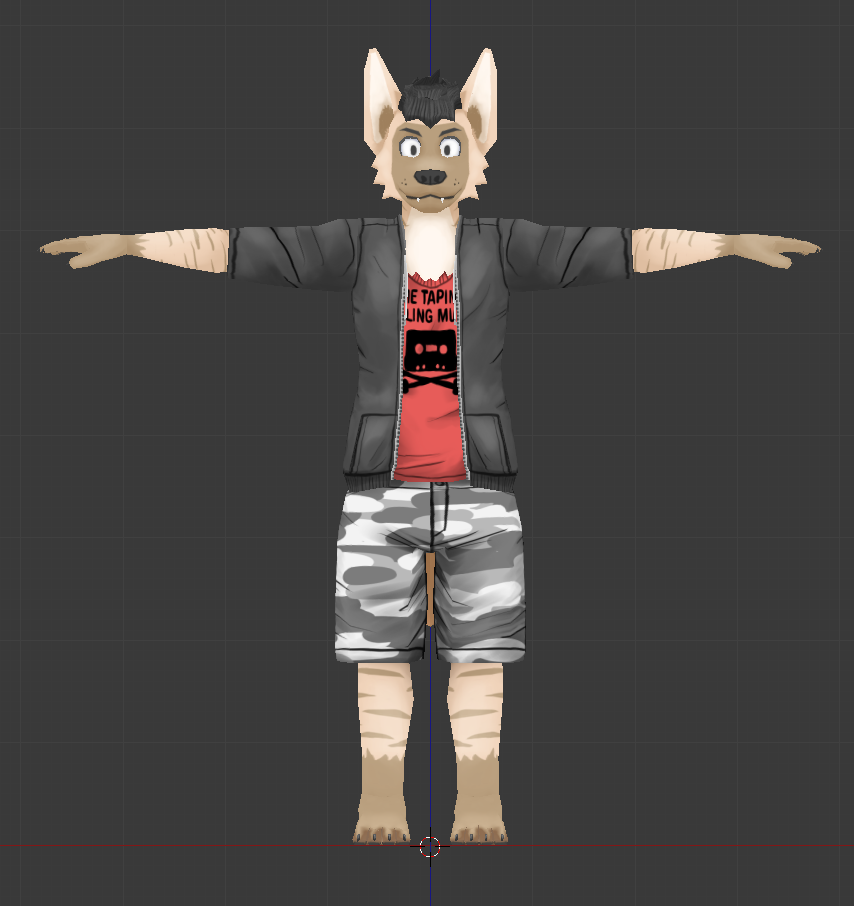
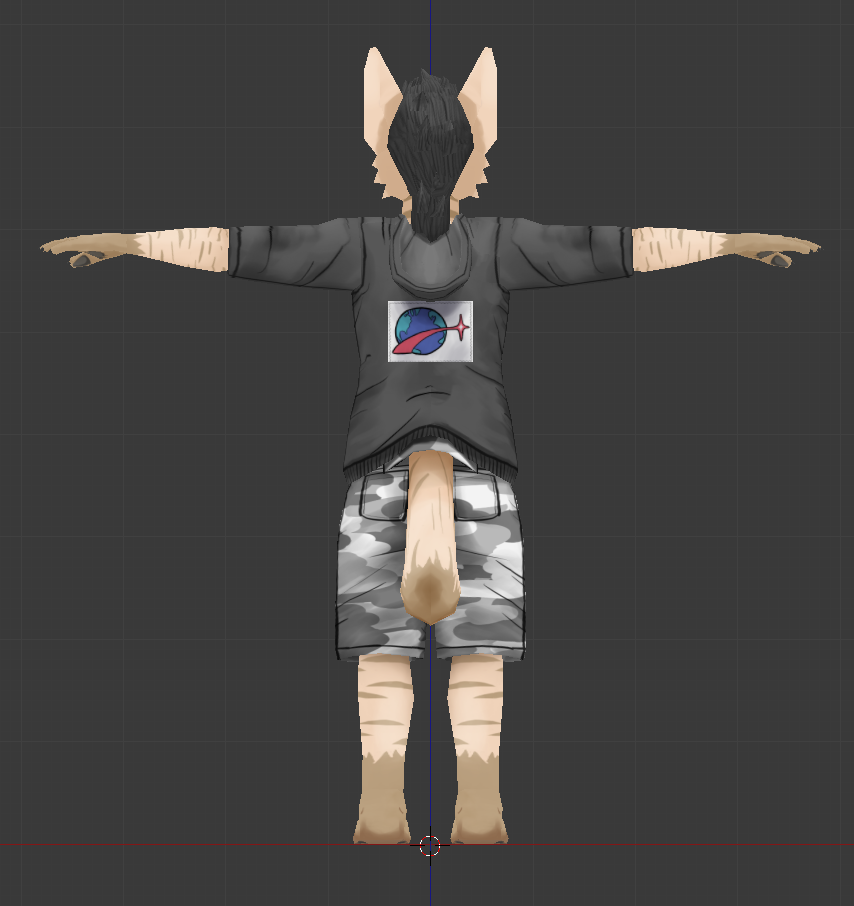
– The model was built to conform to the limitations of the Tony Hawk’s Underground animation armature. Apogee’s proportions were taken from the C.O.D. Soldier skater model downloaded from models-resource.com — I screencapped a flat turnaround of the model in Blender and traced over it in Krita. The final Apogee model is 3,418 triangles, and contains eleven 512×512 textures; it’s far higher in texture fidelity than the pack-in models were, but the polycount is spot-on, I think.

– As far as developing the mod and supporting the software are concerned, THUG Pro’s culture and community are top-notch. The game industry as a whole did them dirty by sorely neglecting one of the few AAA genres that didn’t revolve around war and violence, so they’re out there doing it for themselves and doing a pretty amazing job of it.

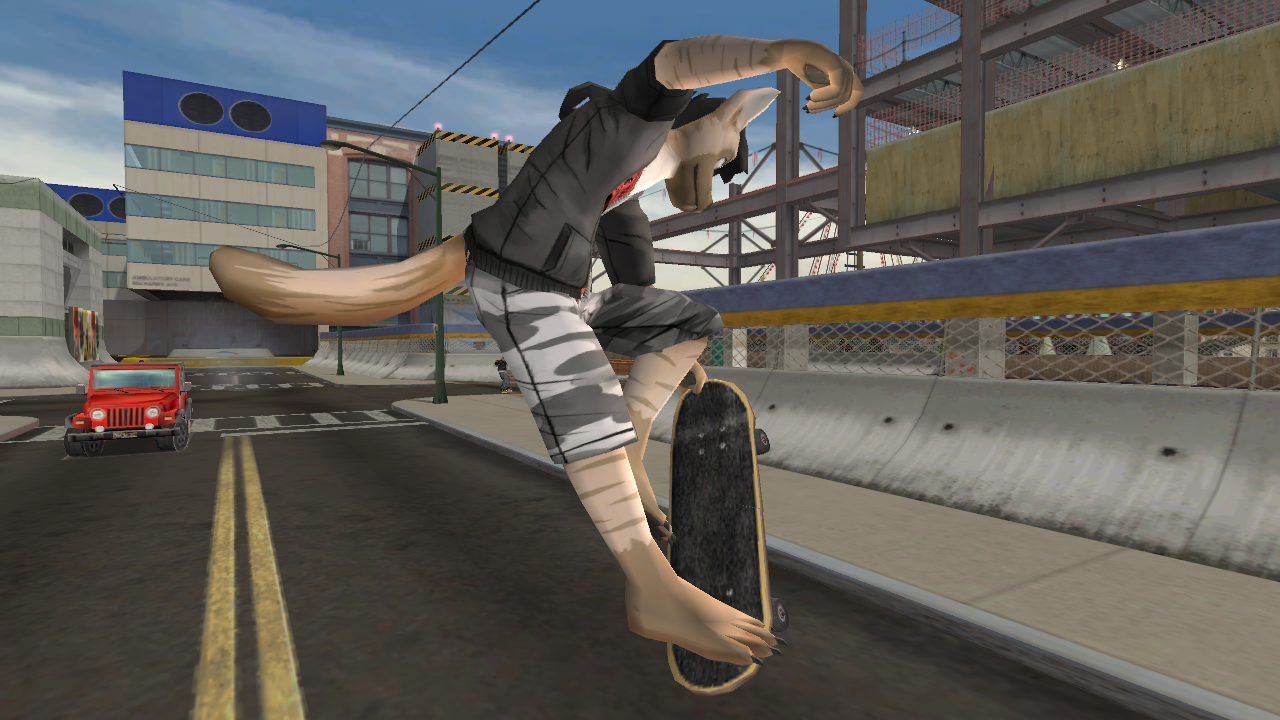
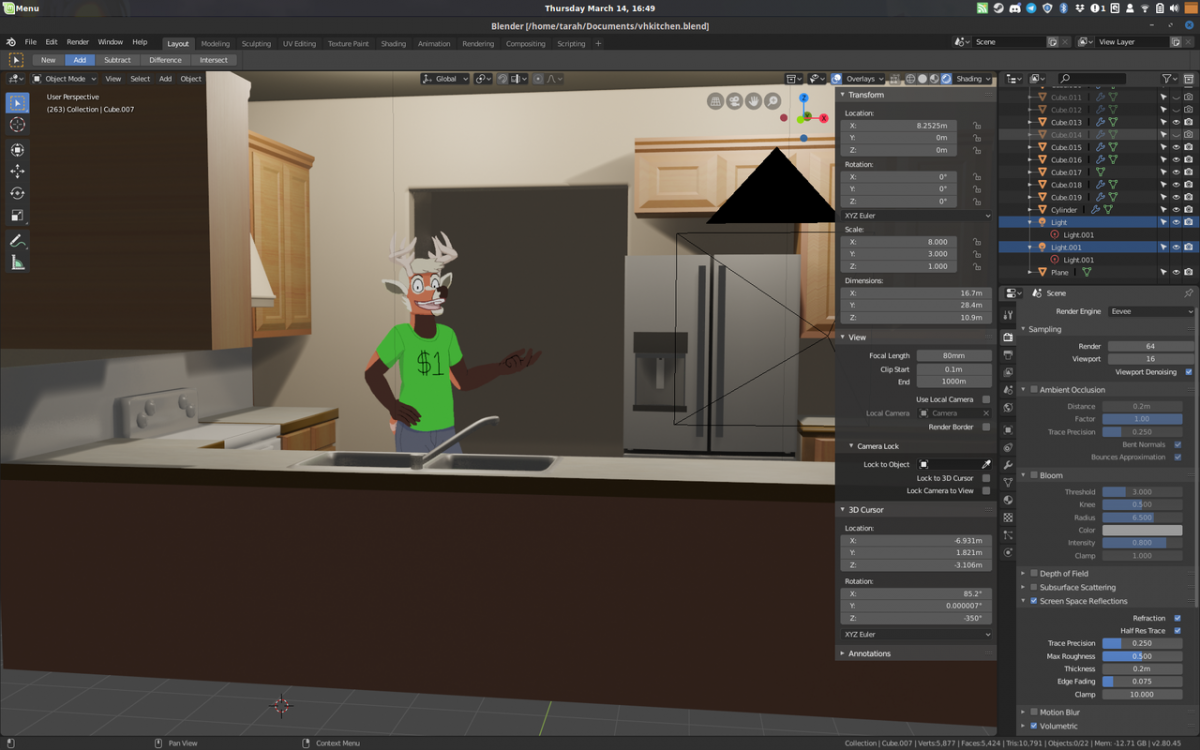
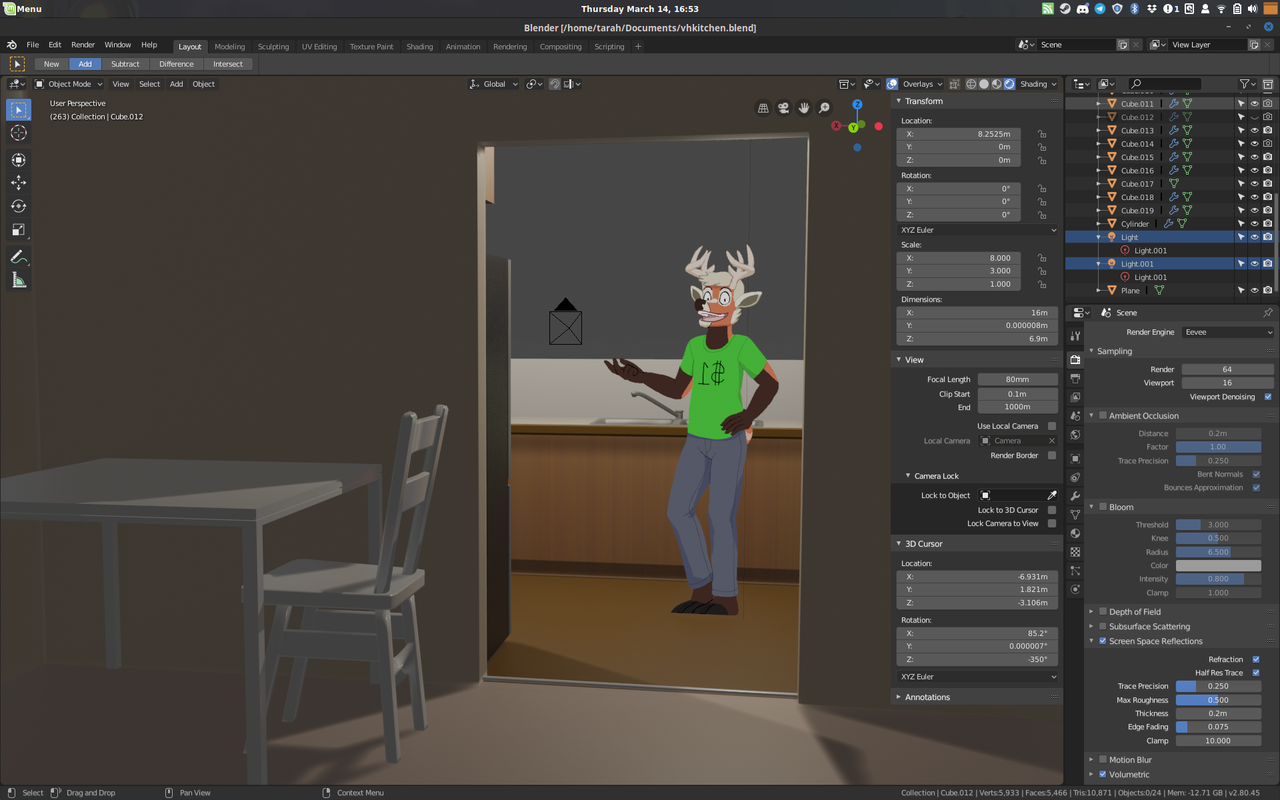
– The process of creating custom content for the game could stand to be a little more well-documented, however! I chose not to ask for support (on the off-chance one of the most active THPS communities might have an Apogee fan somewhere in there), which meant I was reliant on bespoke tutorials and forum posts, which were themselves often written in stream-of-consciousness format. Not the best for my purposes, especially given my reading comprehension skills; I missed a few steps near the end, which resulted in 1) Apogee first appearing ingame as an animationless T-pose* and 2) Apogee then showing up as a cluster of shambling vertices with a coherent head and tail.**

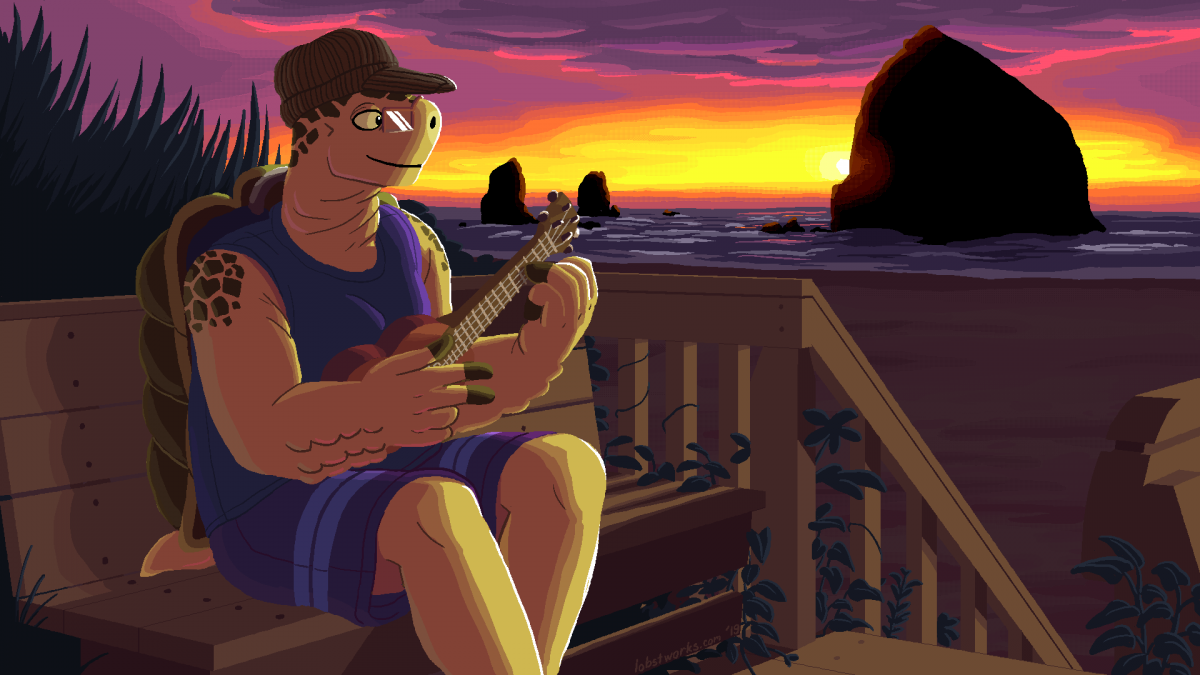
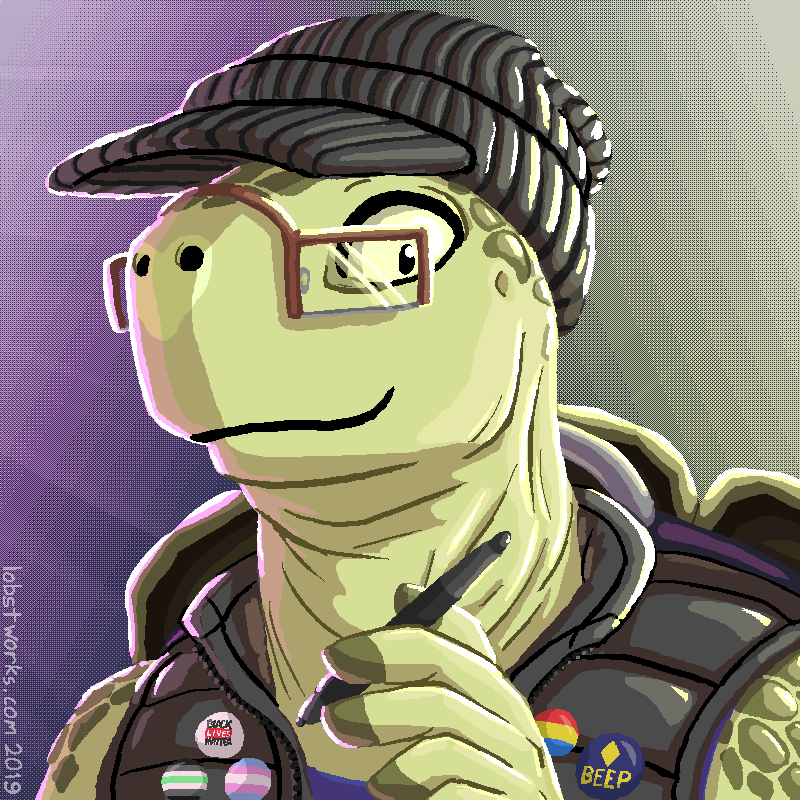
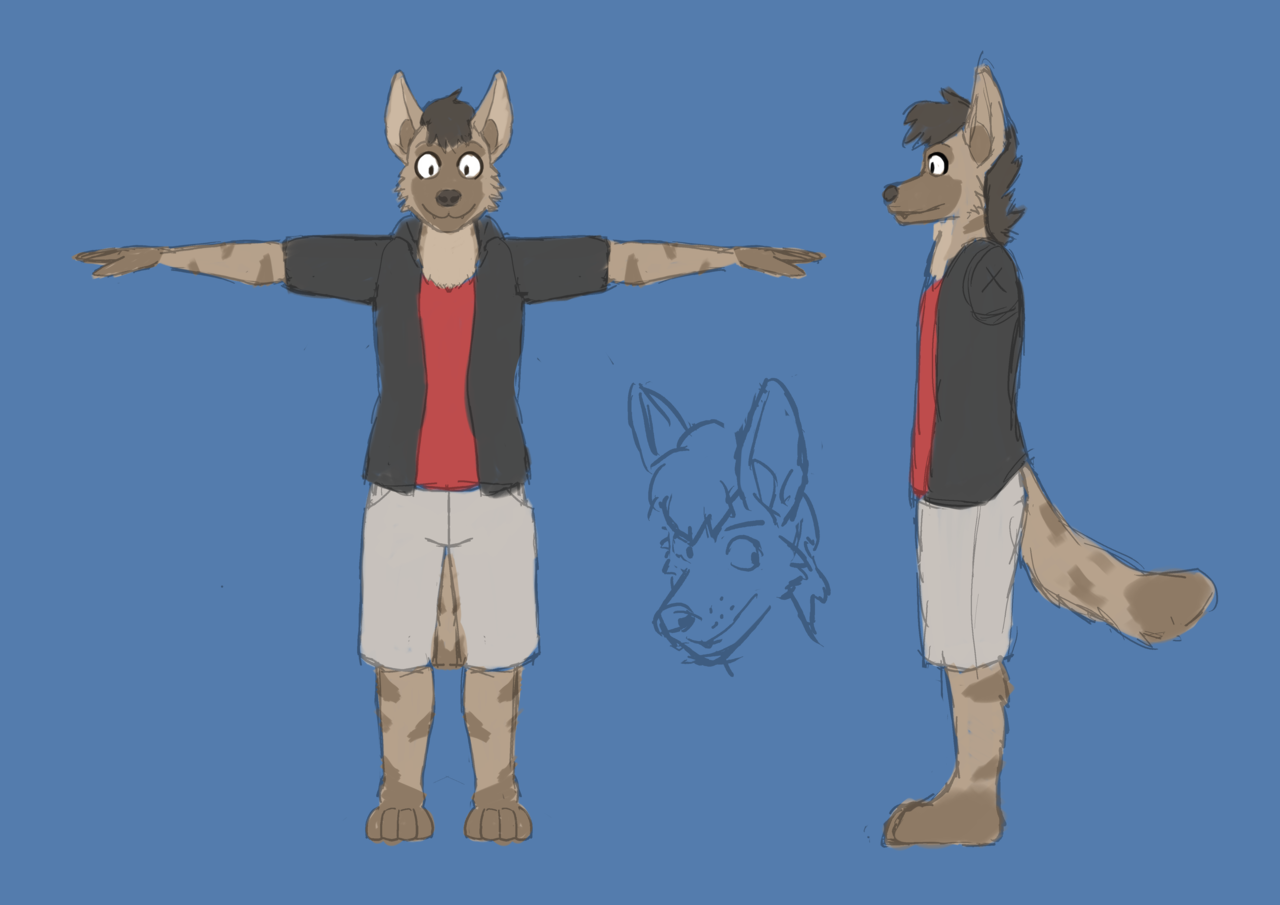
– Despite my being an artist, and significantly attached to the owner of this character, I hadn’t drawn Apogee at all prior to this project. For reference material I decided to scour the Apogee Westwood Twitter account, but not the Media or Mentions tab, which meant the references I’d put together were from a variety of commissions from different angles.

The model and textures were made exclusively using free software and tutorials (even almost entirely on Linux, save for exporting and testing). The 3D modeling was done in Blender, and all textures were hand-drawn using Krita. The one online friend I showed the work-in-progress screenshot to (who graduated art school, including 3D classes) asked me afterward how much Blender costs, which was a great experience in itself. I bring this up only to say, no shade on myself: If what I’ve made looks good to you, all the software I used is $0 and available for Windows, Mac, and Linux, and I’m confident that you’re capable of using it to make something that looks even better.

– This is the very first 3D model I’ve textured, rigged, and deployed in any “finished” capacity, and while I’m very proud of the work I’ve done here, there are topology and texture aspects I had to set down and declare finished even though they’re not how I’d prefer them; there’s so much more I have to learn before I can feel truly confident in my capacity to deliver as a 3D artist. (I am sure I’ll eventually get there in future models, but the act of comparing this work to even the hobbyists in the THUG Pro community has been humbling, to say the least.)

– Here’s how unveiling it to Phen went: I handed them a USB stick which housed a video file and a directory named “WATCH THE VIDEO FIRST” (containing the installation instructions and model files). The video file (which I’ve personally rewatched dozens of times since its creation) is the exact one that was posted on Apogee’s Twitter account. Phen was speechless for the first fifteen seconds, then spent the rest repeatedly shouting “OH MY GOD” in escalating levels of intensity.

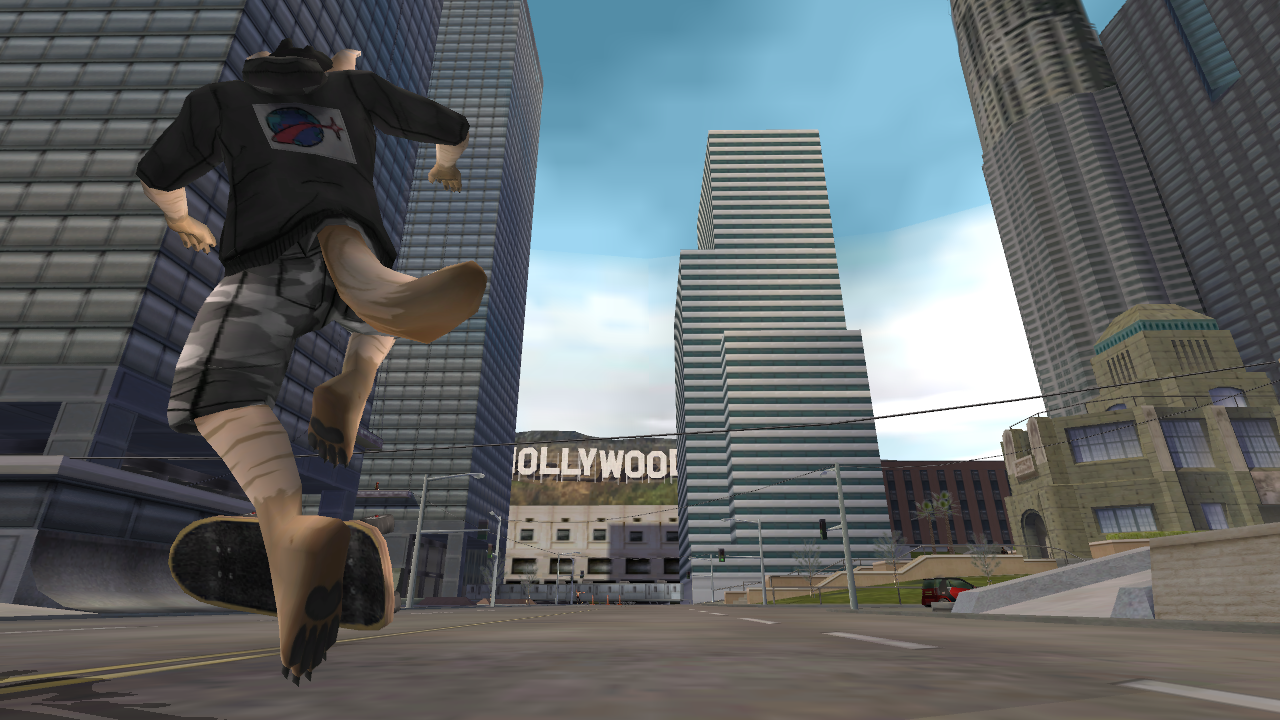
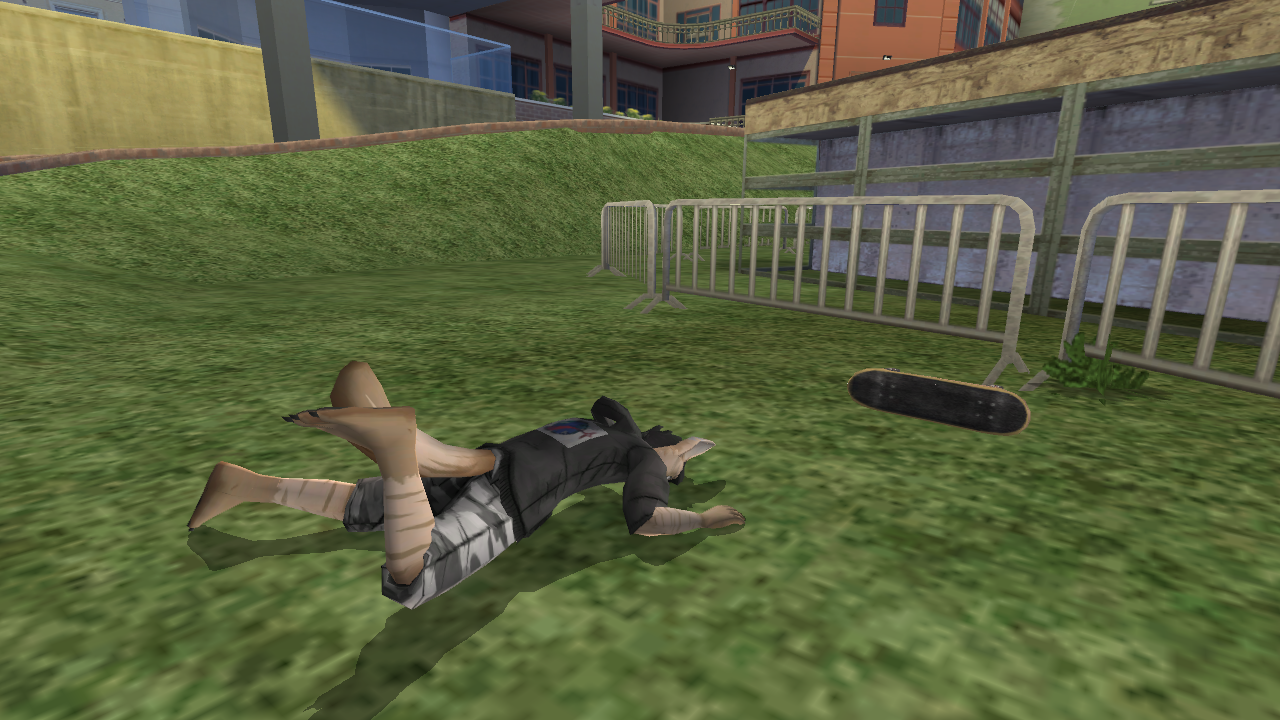
– After Phen started playing and taking screenshots, I noticed a few minor details that needed tweaking: the fingers weren’t animating quite right, the hands were too small compared to the feet (1), the shirt occasionally clipped through the jacket, and the seam between Apogee’s jacket and shorts would open way the hell up in certain animations, revealing his hollow interior (2). Phen was insistent that I’d done a great job, but I decided to spruce things up a bit by altering geometry, textures, and vertex weights across the model until I could reasonably call this project “finished”. This took way longer than I’d anticipated, but judging from the ingame tricks I was able to pull off with my limited knowledge of THUG 2’s moveset, the use cases where the model looks satisfactory encompass 99% of the animations you’ll encounter in Free Skate mode (rather than the previous 90%). This is what happens when you undertake a form of creativity that requires an order of magnitude more work than previous efforts, but the end result pays the effort back in versatility and long-term value.

– If you’re interested in these games at all (even if you’re not interested in playing them yourself), I recommend watching the Summer Games Done Quick 2016 speedrun of Tony Hawk’s Underground by Fivves if you’re into speedruns (it’s just a really good 45 minutes of video content).

* Fixed by selecting “export as THUG2 model” in the io_thps_scene Blender plugin
** Fixed by selecting “Normalize All” in Blender’s weight paint panel (which makes sure each vertex’s weight values added up to 1.0).